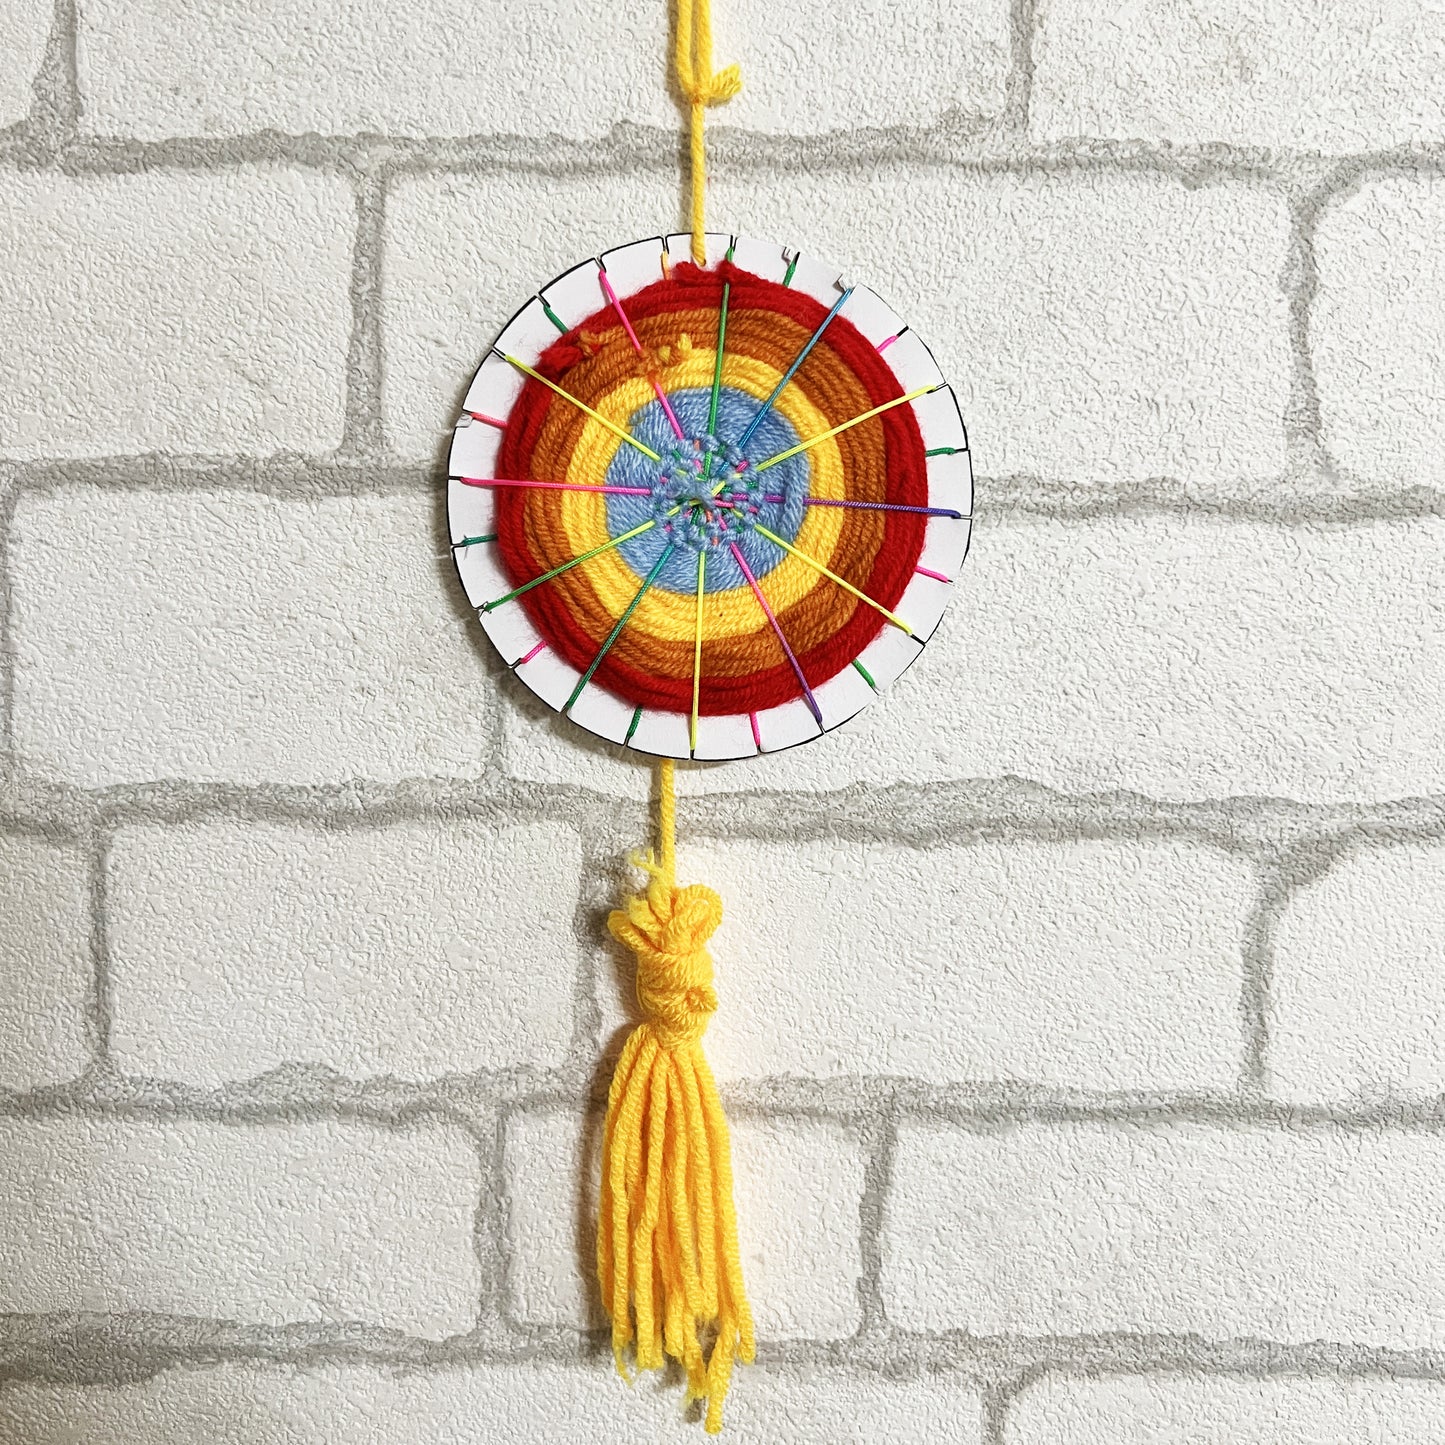
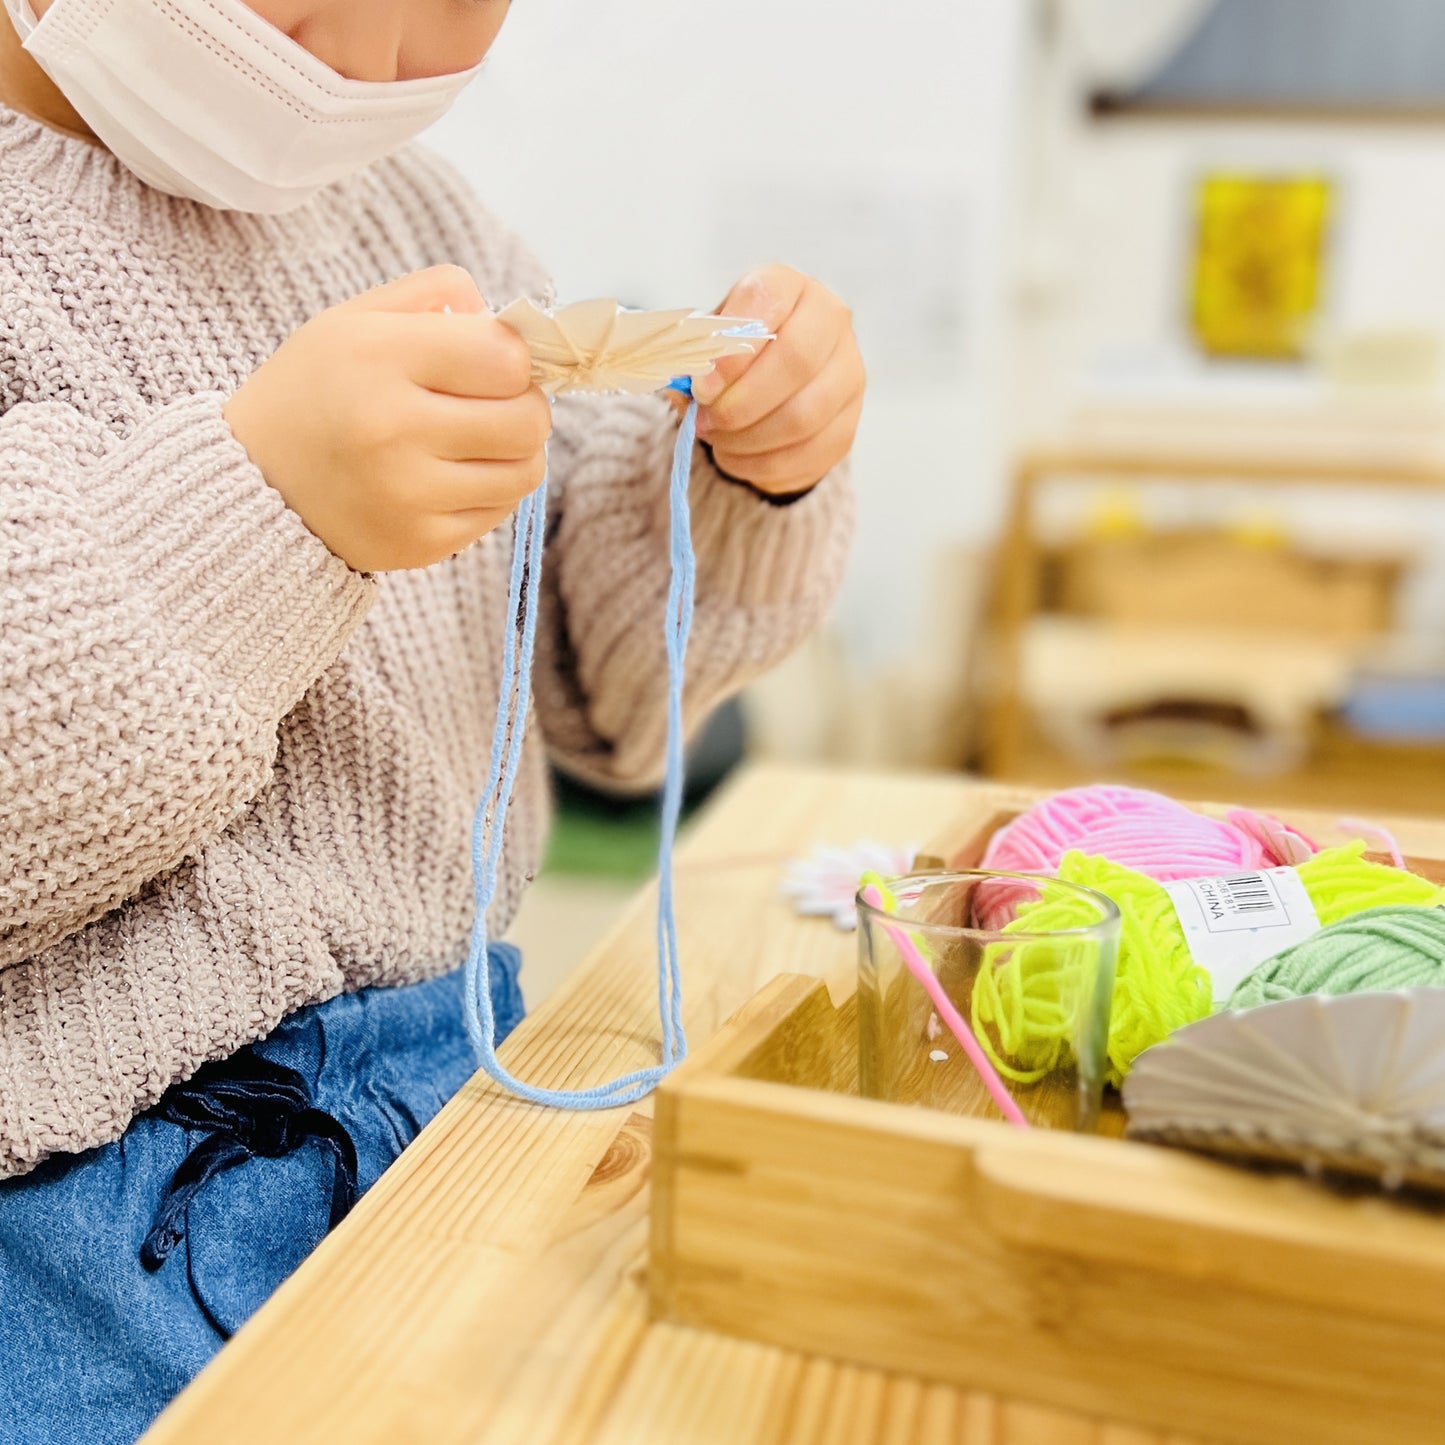
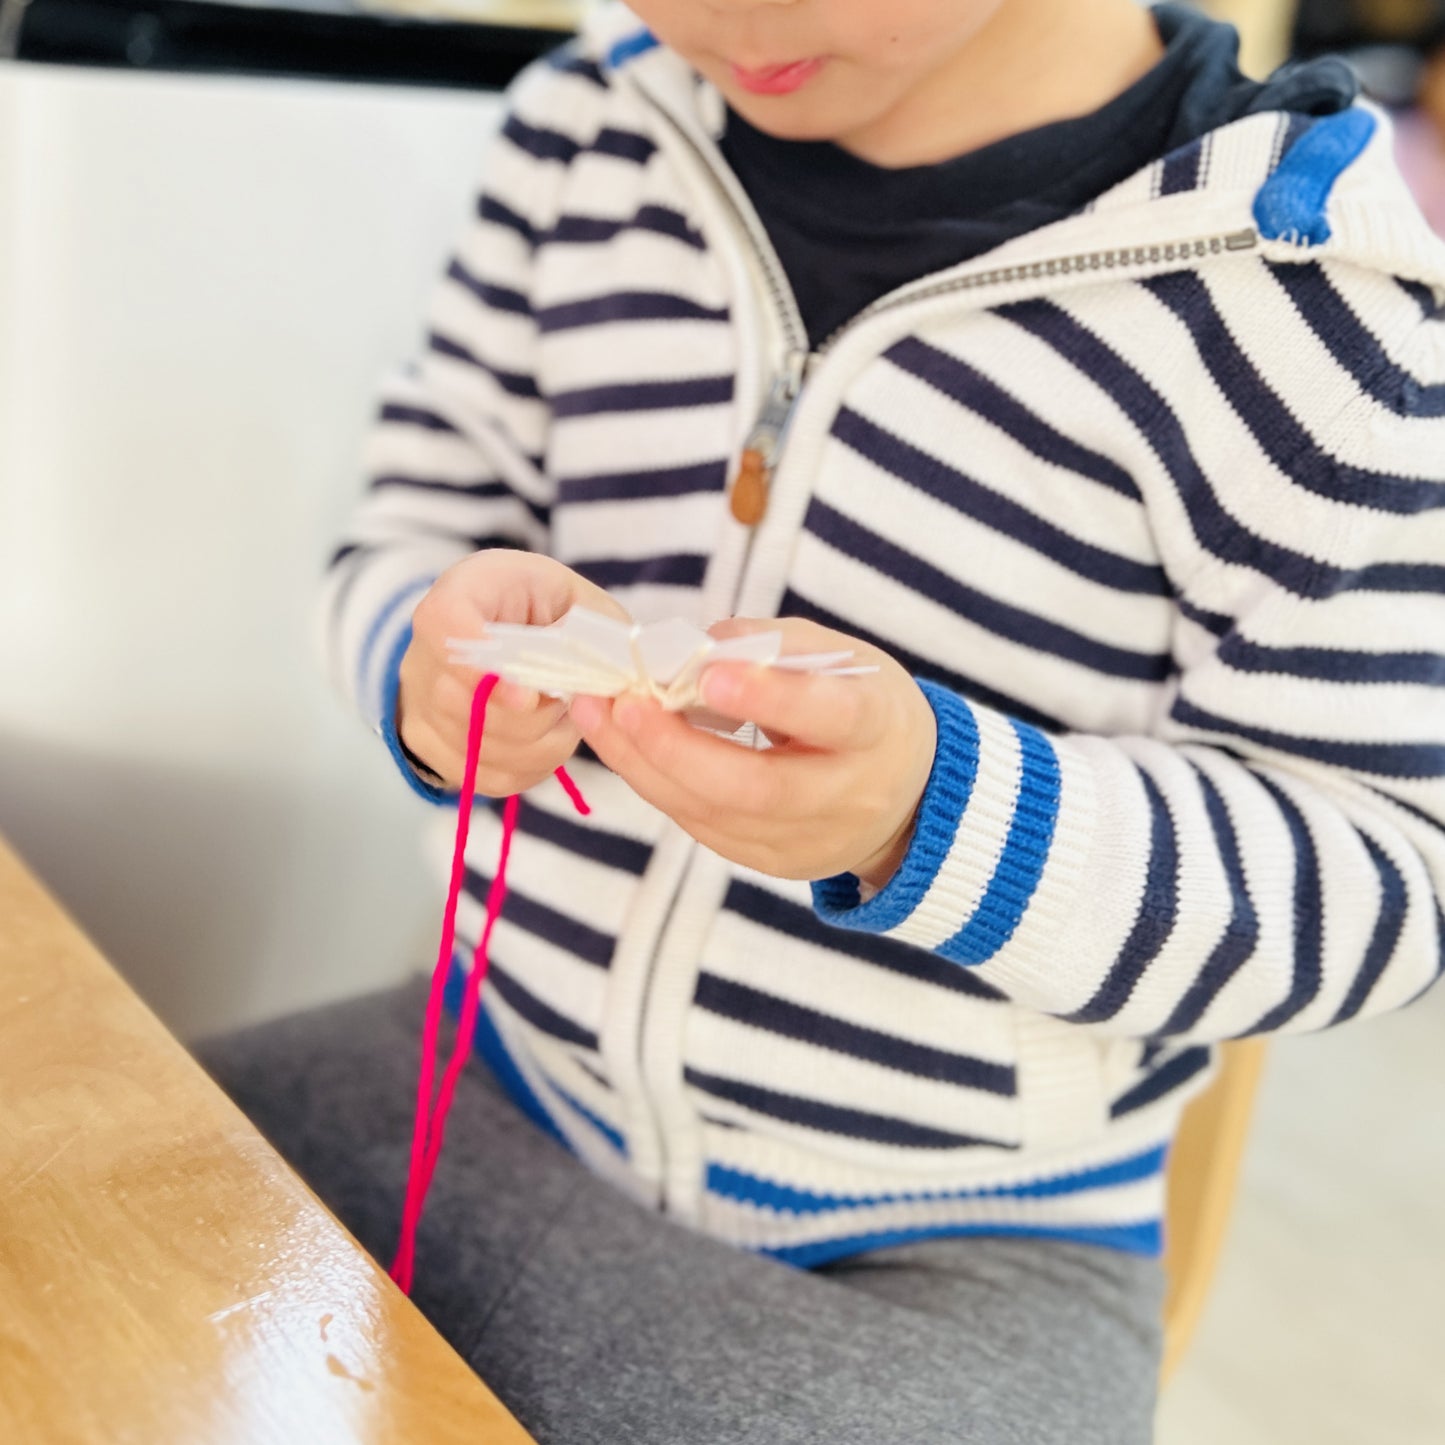
This activity involves weaving with yarn to create a tapestry that can be beautifully displayed in your room.
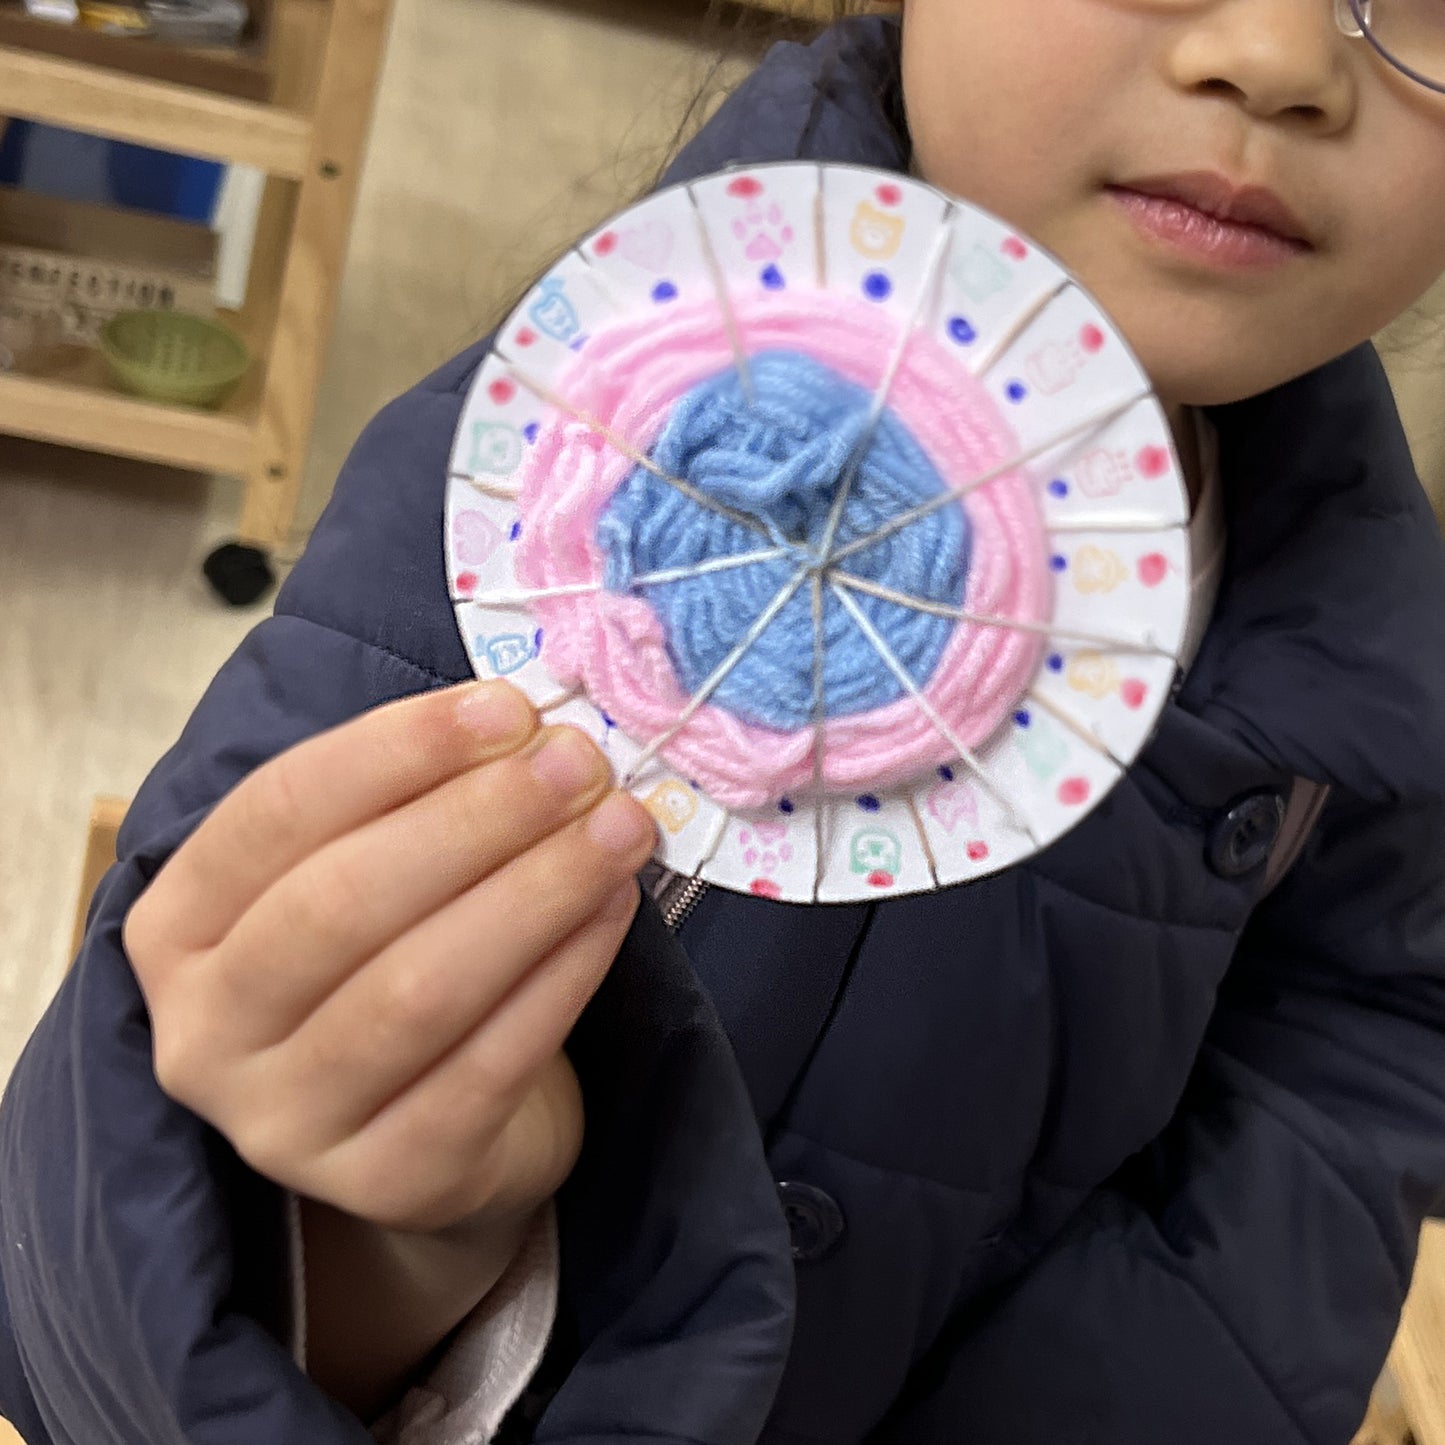
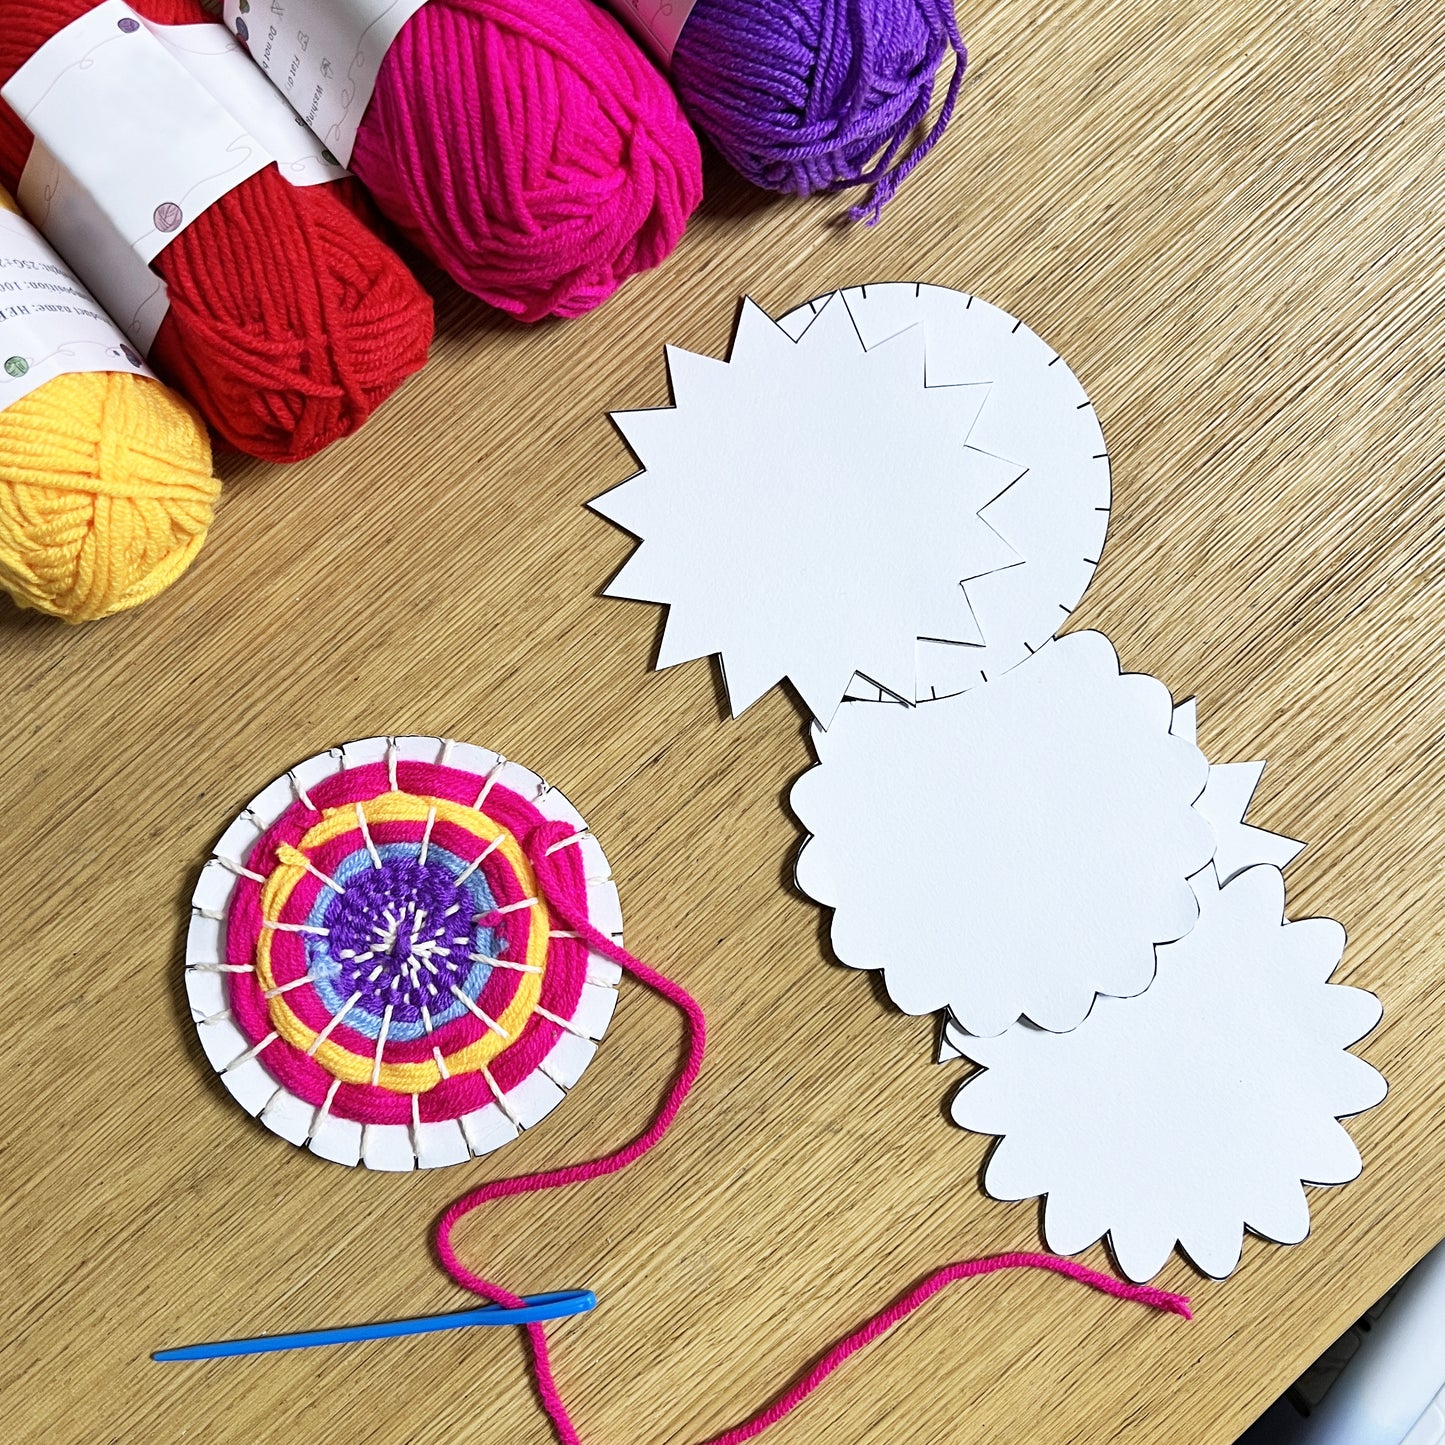
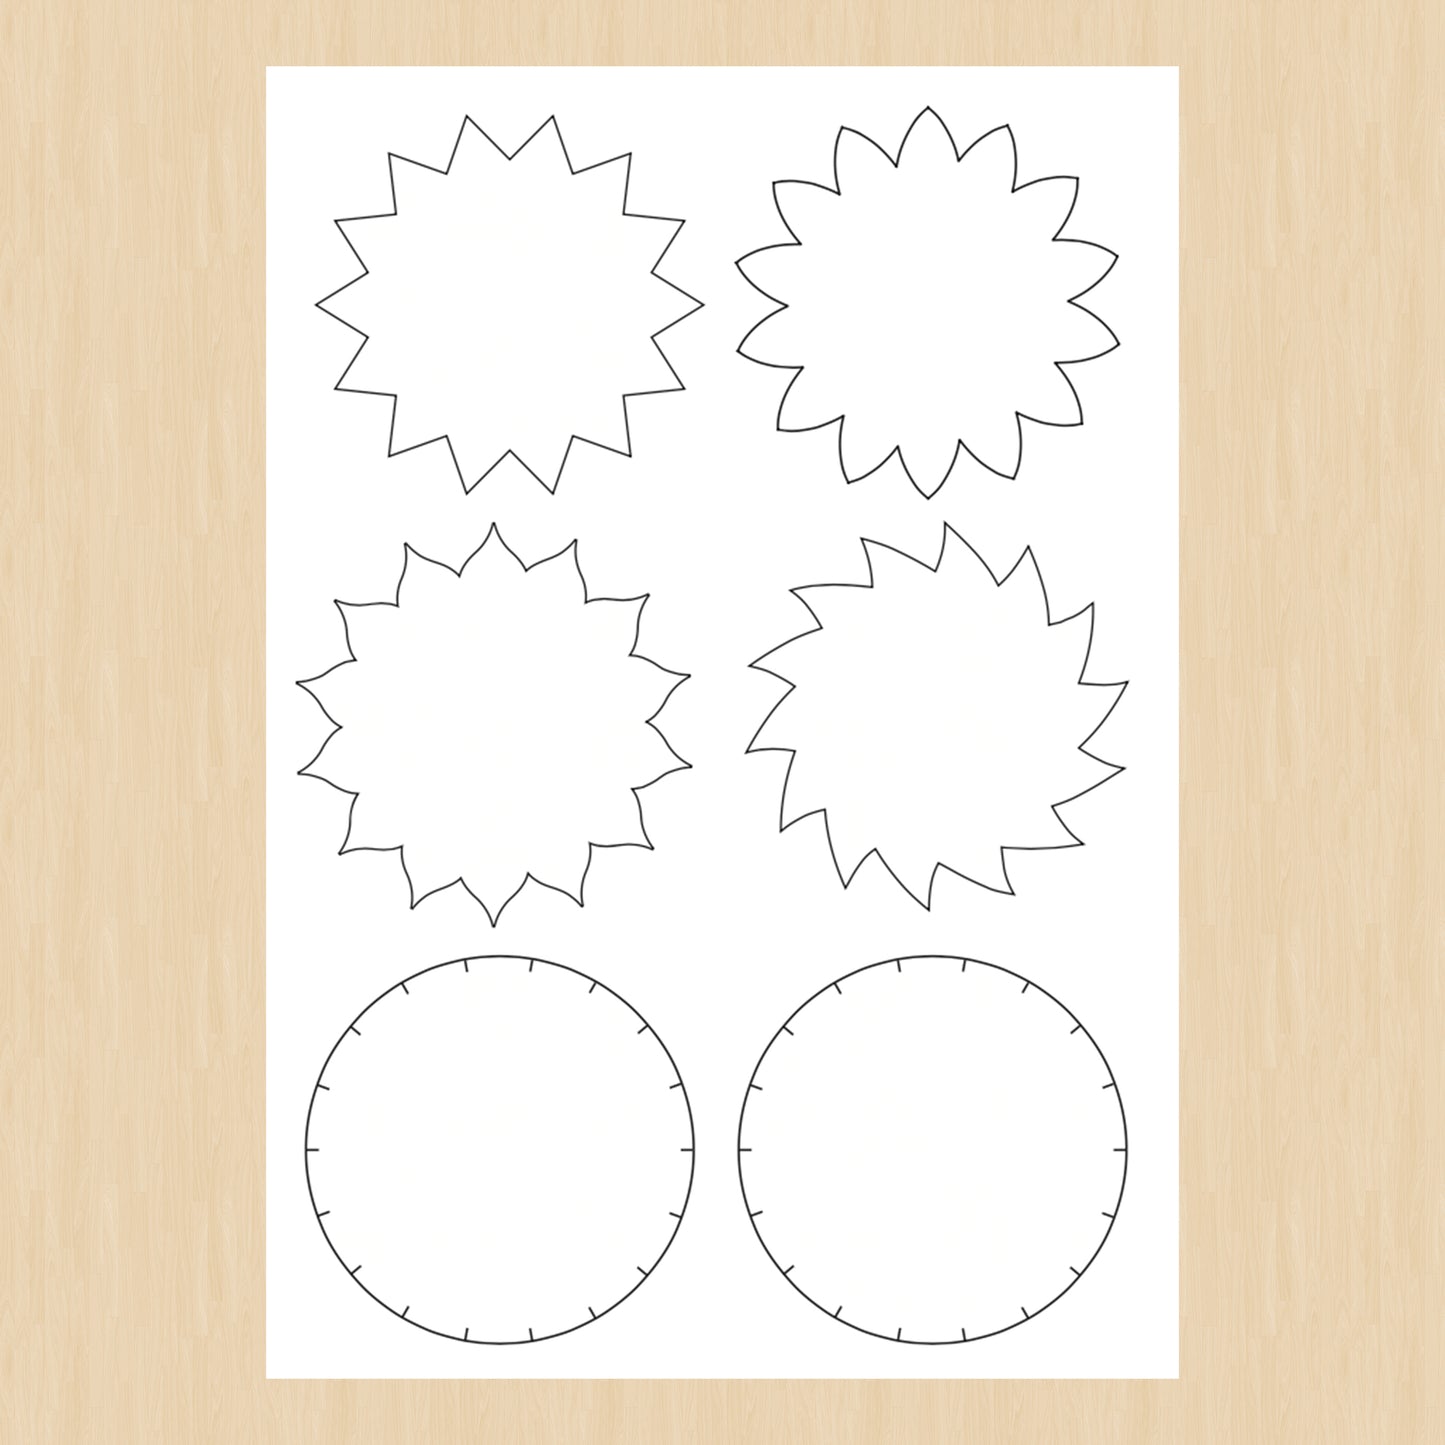
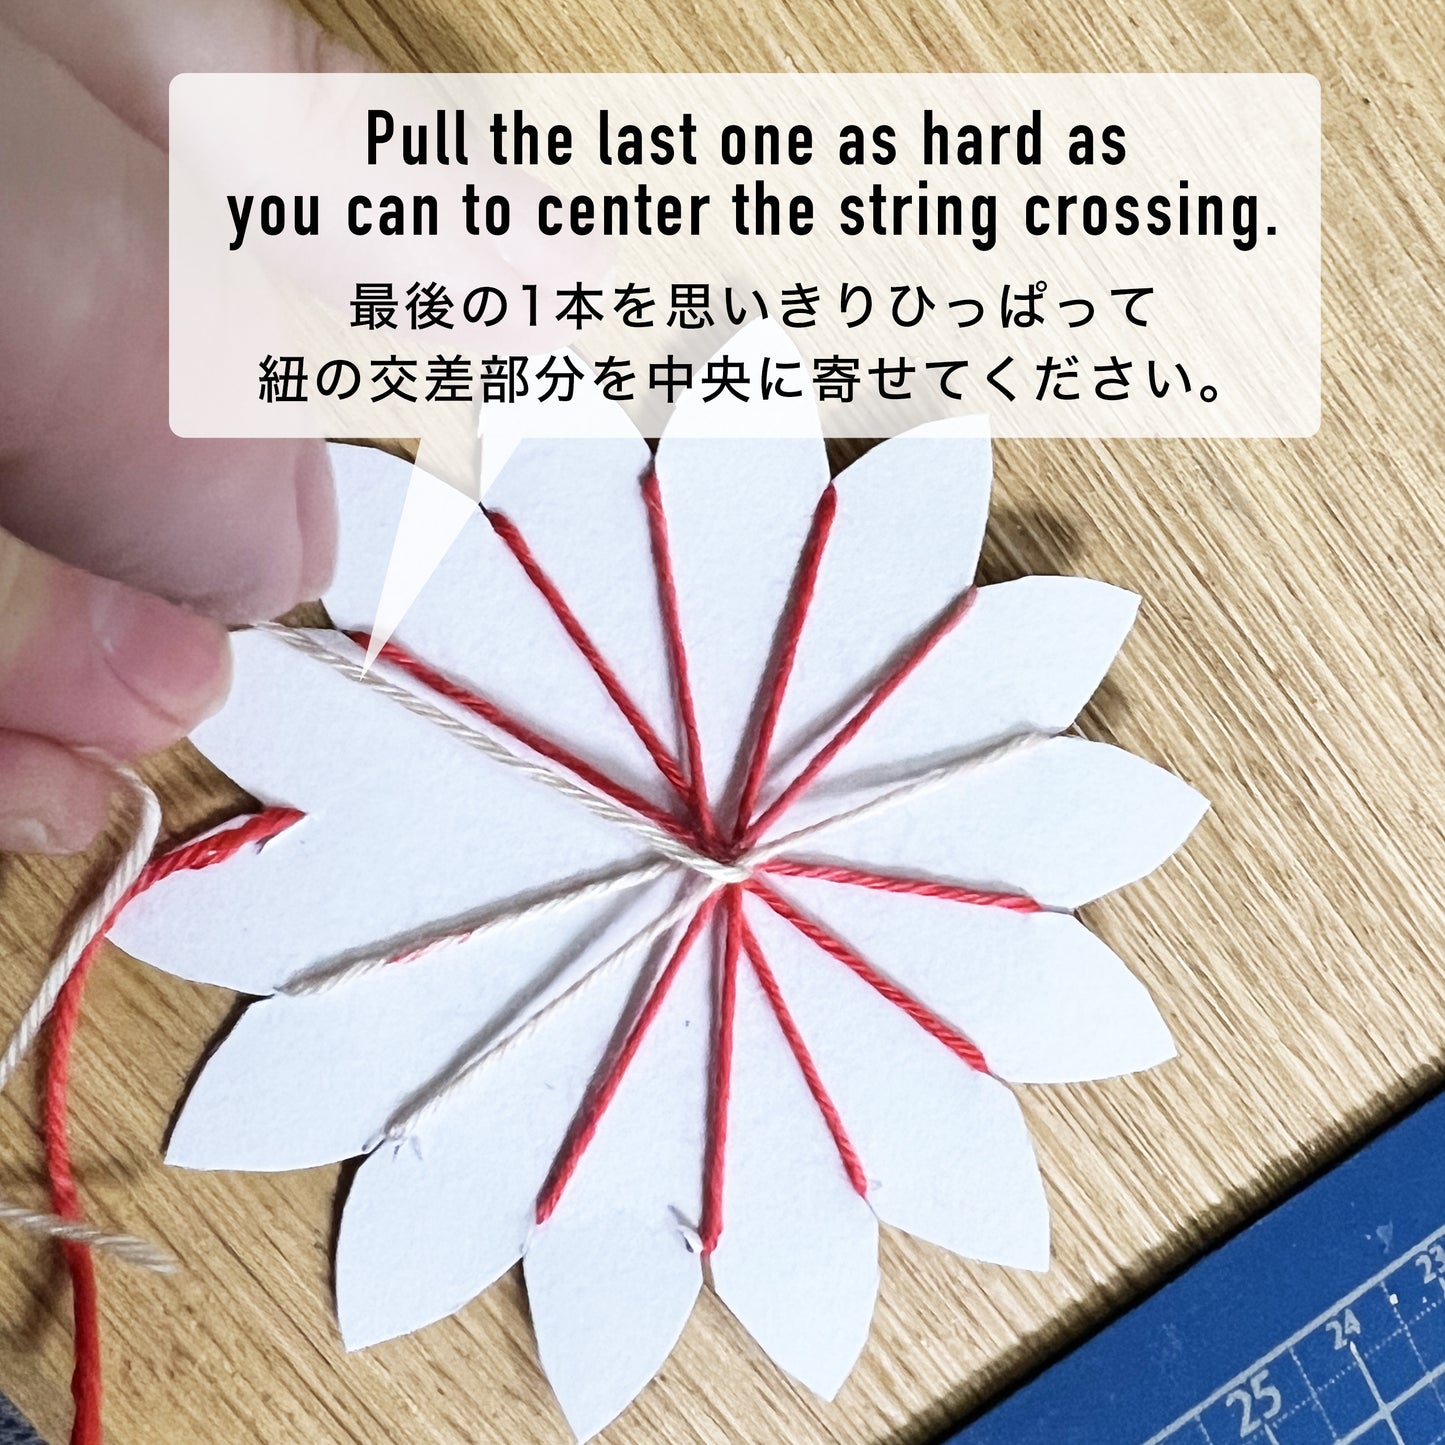
Preparation Required Before Use: Before providing this activity, please print the included data onto sturdy paper, such as cardstock. For added durability, adhere the printout to a piece of cardboard. Cut notches into a thick backing board and prepare the base by crossing support threads (string or plastic cord works well). As you thread the base, the strings on the back side may shift and appear uneven. When tying off the final thread, pull all the crossing strings tightly toward the center to ensure they are neatly aligned. Adjust and secure them to create a well-balanced base with threads crossing cleanly in the middle on both the front and back sides.
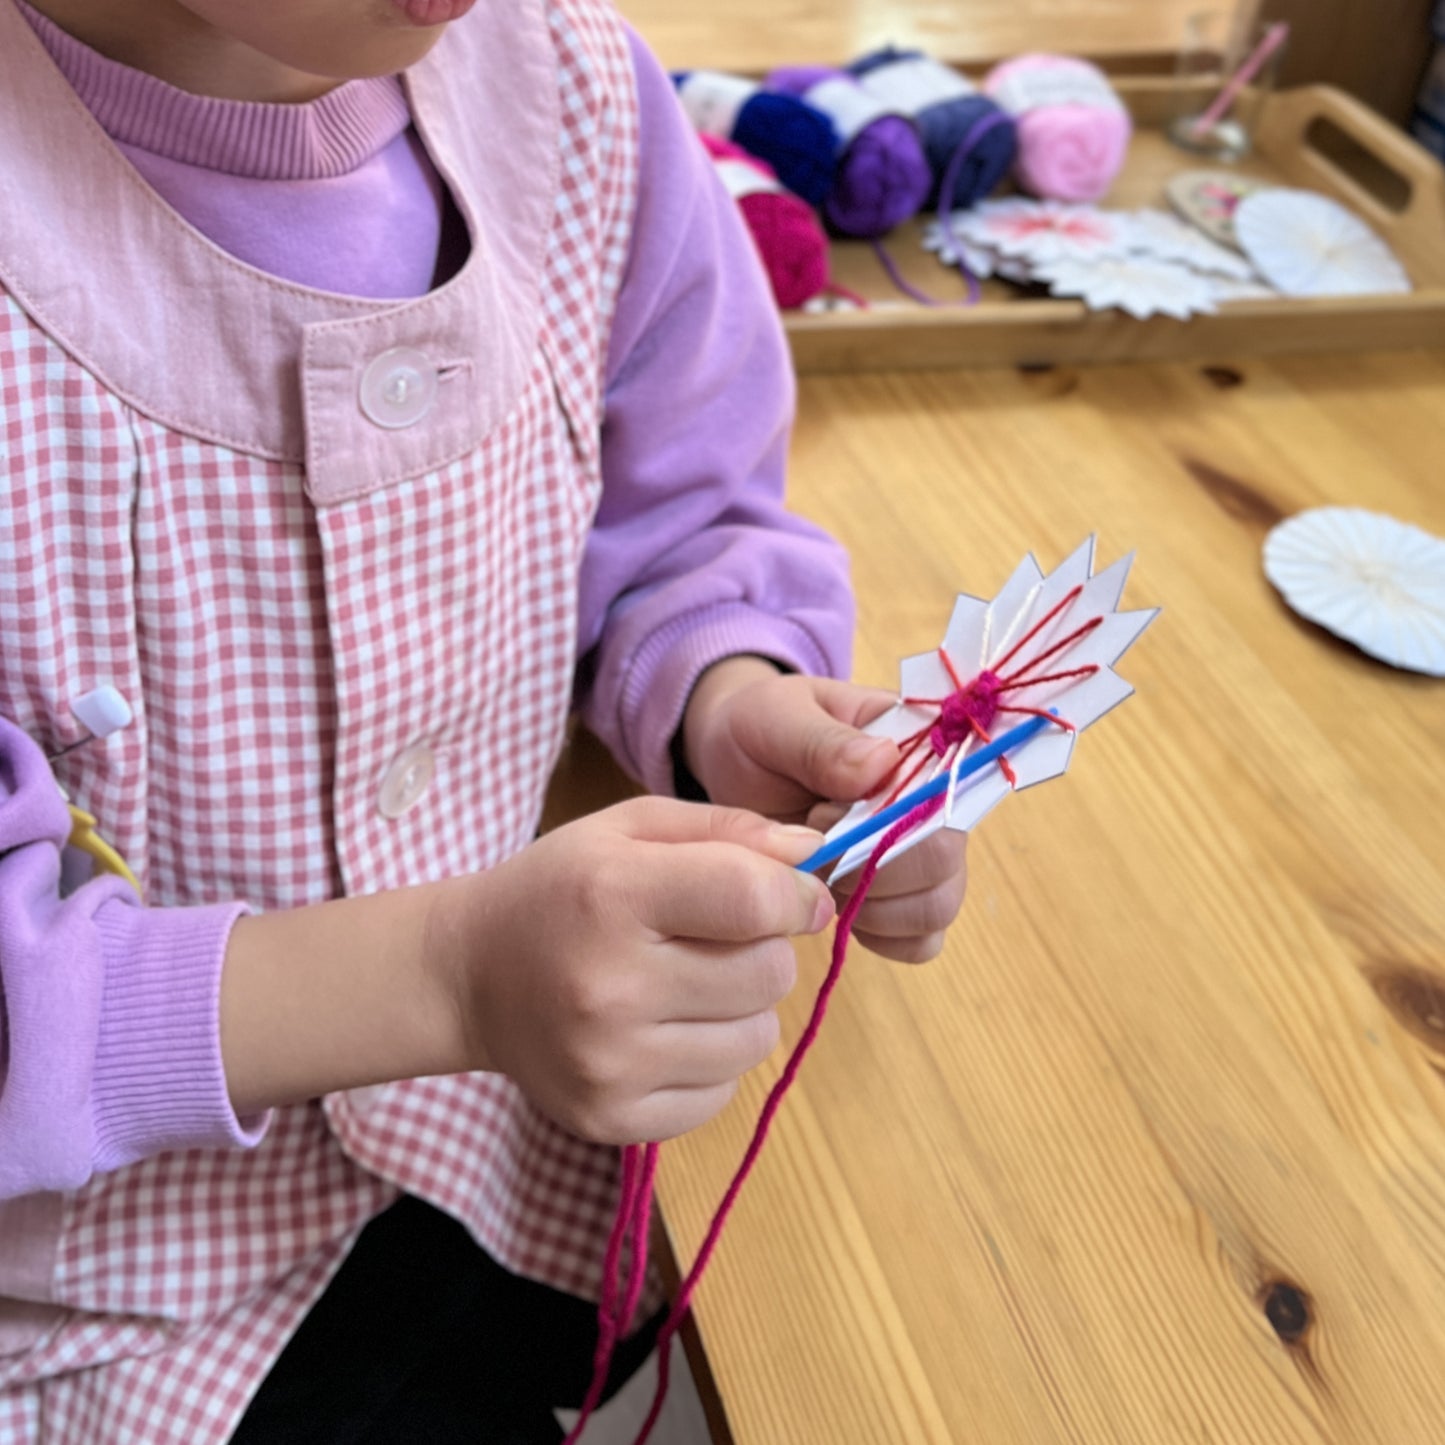
Tools to Prepare: Use yarn needles that accommodate the thickness of the yarn. Plastic yarn needles work well for this activity.
How to Weave: Thread the yarn alternately over and under the crossed strings in a circular pattern. Avoid using yarn that is too thin, as it can make the process time-consuming and tiring. Similarly, overly thick yarn may result in a rougher appearance. Starting with thinner yarn and transitioning to thicker yarn midway can create a more polished look. Feel free to get creative with yarn thickness, colors, and designs. Add beads, stamp patterns, or incorporate unique elements to make your tapestry one-of-a-kind.
Important Notes: This set is sold as a digital PDF file only. It does not include printable paper, cardboard, yarn needles, yarn, or other supplies. Please prepare the necessary materials according to your needs.
Enjoy this engaging activity that encourages children to explore their creativity and develop a “can-do” attitude!